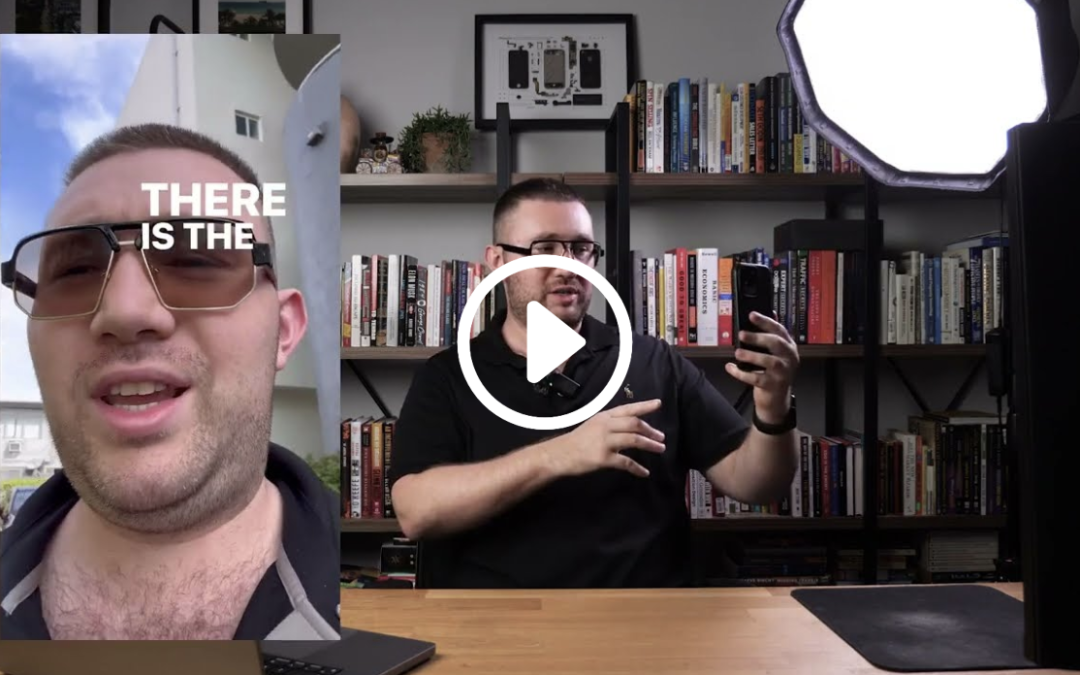
Editing is where your content truly comes to life. But if you’re overcomplicating it, you’re wasting time. I keep my editing process fast, efficient, and simple—using CapCut Pro for everything. Here’s exactly how I do it.
Phone vs. Computer: When to Use What
I edit on both my phone and computer, but I use each for different reasons:
-
Phone Editing (Quick & Simple Content)
- Single-shot talking videos
- Minimal cuts, quick captions
- Edited in under 20 minutes
-
Computer Editing (High-Quality, Polished Content)
- Multi-shot videos, better storytelling
- Easier workflow with a larger screen
- 80% of my edits happen here
Since I switched to Mac, I use Airdrop to send files from my phone to my laptop instantly—no compatibility issues, no headaches. If you’re on PC, find a seamless file transfer method.
Step 1: Organizing Footage
Before I start editing, I stay organized to avoid wasting time searching for clips.
- Create a Project Folder → Example: 75 Hard – Day 73
- Drop All Footage Into That Folder
- Keep Everything Inside a Master Folder → This keeps my content in order for future reference.
Step 2: Editing Software – Why I Use CapCut Pro
I’ve used Adobe Premiere for 20 years, but for short-form videos, CapCut Pro is just easier, faster, and smarter.
- Simple interface & timeline layout
- Auto-captions in one click
- Built-in effects, animations, and transitions
- All-in-one editing solution for short-form content
It’s free to use, but I recommend upgrading to CapCut Pro ($7/month) for extra features & a smoother workflow.
Step 3: Start with Audio First
Most people dump all their footage in and get overwhelmed. Instead, I start with the audio:
- Drop the audio into the timeline first.
- Cut out all dead space & filler words.
- No pauses, no “uhh” or “umm”—keep it punchy.
- Make sure the message is clear & tight.
- If my raw footage is 1 minute long, I trim it down to 45 seconds for maximum impact.
Once my audio is locked in, I add visuals to match.
Step 4: Adding Video Clips
Instead of dumping all my footage in at once, I add one clip at a time to match the audio.
- Find the best visuals for each spoken section.
- Add B-roll footage when needed.
- If I don’t have the right clip, I shoot it on my phone instantly, Airdrop it, and drop it in the timeline.
Step 5: Enhancing the Edit
Once the rough cut is ready, I polish it up:
✅ Add text captions – CapCut auto-generates captions, then I clean them up.
✅ Include sound effects & music – Subtle background music keeps it engaging.
✅ Use zoom-ins & cuts – Keeps pacing fast & interesting.
✅ Add motion graphics if needed – But don’t overdo it. Simple edits > Over-edited videos.
Step 6: Creating the Thumbnail
Most people ignore thumbnails, but it drives views on Instagram & TikTok.
- Hide all text & captions in CapCut.
- Add big, bold custom text for the thumbnail.
- Export a still frame from the video.
Now, when I post, my video looks more professional and clickable.
Step 7: Export & Upload
Final steps:
✅ Export at 4K for maximum quality.
✅ Double-check captions & visuals.
✅ Upload directly from my phone to Instagram/TikTok.
Final Thoughts: Why This Process Works
Editing shouldn’t take hours. If your workflow is slow, you’re overthinking it.
With this method:
🚀 I edit most videos in under 1 hour.
🚀 CapCut Pro handles everything seamlessly.
🚀 The process is repeatable & efficient.
If you’re struggling with editing, simplify your workflow and start executing. No excuses. Just action.
Now go edit your next viral video.
🔒 Want the Real Insight?
Get access to what doesn’t make it to social:
✅ Behind-the-scenes strategy breakdowns
🎯 Private mini-trainings for growth & conversions
📎 Plug-and-play templates that actually move the needle
🚫 No ads. No fluff. No overpriced courses. Just what works.
Drop your email and I’ll send you the good stuff.
© 2025 Michael Shatravka. All Rights Reserved.

